Follow this easy guide to make your own thirst quenching probiotic health tonic.


Knowing how to brew your own kombucha is immensely gratifying. We love drinking fermented drinks like kombucha because they’re significantly lower in sugar than other carbonated beverages. Kombucha also happens to taste great, and it makes our tummies feel amazing with all those probiotics, good bacteria, and healthy enzymes. Because kombucha’s base is caffeinated tea, it gives us that great feeling of alertness without the added sugars of soda. The best part of learning how to brew kombucha at home? You get to control the flavor, and you can also save a ton of money on the product.
High Heat Destroys Probiotics

Many big beverage factories have recently begun selling pasteurized kombucha. Pasteurization is great for many products we buy, like milk, but the heat required from pasteurization kills beneficial probiotics. That means pasteurized kombucha doesn’t contain the beneficial microorganisms that help our gut-biome.
The reason these companies opt for pasteurization is that kombucha isn’t shelf-stable. If raw kombucha isn’t refrigerated, it continues to ferment and creates alcohol. On the flip side, pasteurization also acts as a flavor preservative. Too much fermentation changes the actual taste of the product, making the end result extremely sour.
Probiotic Health Tonic Ingredients

Under the right conditions and with the right supplies, anyone can brew kombucha. Kombucha brews best at 72 degrees Fahrenheit, so the best time to make it is when the weather is temperate. Otherwise, there are a few hacks that can be used, and we will discuss those later. Here are the supplies you’ll need for a one-gallon batch, as we recommend starting small at first:
- 8 tea bags (a combination of both green and black tea is traditional)
- 1 gallon container (one with a spigot or a big mason jar will work)
- Sugar (granulated sugar or honey)
- A bottle of your favorite store-bought kombucha (pasteurized is fine)
- A clean tea towel or cut up t-shirt to cover the opening (no cheesecloth; the holes attract bad bacteria and insects)
- A wooden spoon or rubber spatula for stirring
- A large rubber band to secure the cloth around the container’s mouth

How To Use SCOBY In Brewing Kombucha

The most difficult item to find is the scoby, which resembles a large mushroom cap. Scoby is the starter culture (also called a “mother”) that is the living home for the bacteria and yeast that transform sweet tea into tangy, fizzy kombucha. Sometimes, you can find tiny pieces of scoby floating in bottles of raw, unfiltered apple cider vinegar. They are not indicators of a bad vinegar, but quite the opposite.
S.C.O.B.Y. is the acronym for Symbiotic Culture of Bacteria and Yeast, and it’s crucial for brewing kombucha. They are easy to find online or in health food stores, or you can get one through networking with friends or on social media groups. We recommend this green tea-only scoby from Amazon: Jun Kombucha Starter Pack. This kit calls for honey instead of refined white sugar and has a distinct taste of champagne.
If you obtain a scoby from a friend or acquaintance, be aware that mold can sometimes form. Fuzzy patches or irregular spot patterns aren’t good. Scoby typically has threads resembling jellyfish tentacles. They aren’t always pure white, so if your scoby is tan or brownish, that’s perfectly acceptable. Also, if your scoby has a god-awful smell no longer resembling vinegar, then it’s no good.
Scoby and Coconut Sugar
The scoby works by feeding on sugar. By the end of the brewing cycle, the sugar content will have greatly diminished. We would recommend coconut sugar, but sometimes a scoby will not interact with the minerals found in coconut sugar. This means that the kombucha might take longer to ferment, or it may not ferment at all. However, it’s not impossible, especially since each batch of kombucha typically produces a daughter scoby. Introducing coconut sugar to new scobys will be easier than ruining your first batch of kombucha using a scoby raised with white sugar.
Start by using half a cup of granulated sugar and half a cup of coconut sugar with a new batch, and then move toward using all coconut sugar with the following batch.
How To Begin The Brew

With all your supplies ready, start boiling 16 cups of water for your tea. Once the water boils, add the tea bags and steep for 10 to 15 minutes. Remove the tea bags, add the sugar or honey, and stir. Let the tea come to room temperature before adding room temperature, store-bought kombucha and stir with a wooden spoon. Top the liquid with your scoby, cover the top with a clean towel, and seal with a rubber-band.
If you buy a pre-packaged scoby, you won’t need store-bought kombucha. You can use the starter tea included in the packaging. We frequently add a bottle of our favorite (ginger-lemon) because it amplifies the flavor for homebrew. Reusing homebrew from an older batch can sometimes ferment too fast, giving more of a sour taste accompanied with alcohol.
At the perfect temperature (72 degrees), your kombucha should be ready in seven days. Colder temps may take up to 21 days, so don’t worry if the sweet tea takes a while to turn. In warmer temperature, the fermentation cycle could drastically speed up, and it could quickly sour if you aren’t attentive. Check the taste of kombucha in three days if you’re brewing during a hot spell. The easiest way to check is to insert a straw, push back the scoby and take a sip. (By the way, don’t worry if your scoby isn’t floating on the surface. They sink occasionally, and it’s no cause for alarm.)
If you taste very sweet tea, the fermentation is not complete. If it’s super vinegary tasting, you’ve let it ferment too long. This won’t happen if you check regularly. However, if you want less sugar/sweetness in your kombucha, a longer wait will deliver great results.
How To Ferment A Second Time

When you’ve determined your kombucha tastes good and is ready for drinking, you can make a scoby “hotel.” Slip the scoby into a sealed container with a cup of tea and store it in the cupboard. We’ve heard refrigeration is acceptable, but for some reason the scoby is more prone to mold in the fridge. We’ve had great success with storing ours in the cupboard between brews, and they are still viable after three months.
For continuous brew, just transfer the successful brew to individual bottles for a second fermentation. Clean the jar, cover your scoby, make a new batch of tea, and repeat the steps in the recipe.
The biggest complaint with single fermentation kombucha batches is missing carbonation. Sometimes, that first ferment just doesn’t carbonate very much. A second fermentation in smaller bottles will most definitely give you that fizziness you want. We reuse clean, store-bought kombucha bottles with wide mouths. Then, we add a few pieces of fruit, a tablespoon of sugar, and seal the bottle with a lid. It creates an amazing kombucha brew you’ll swear you got from the store.
Keep in mind that it might take a week to reach the desired carbonation stage. In the meantime, “burp” your sealed bottles once a day by opening the lid, tasting a bit, and closing them. Never leave them unattended for an extended amount of time because they can combust from the carbonation. We’ve only read about it, and never seen it happen ourselves, but it’s better to be safe than sorry.
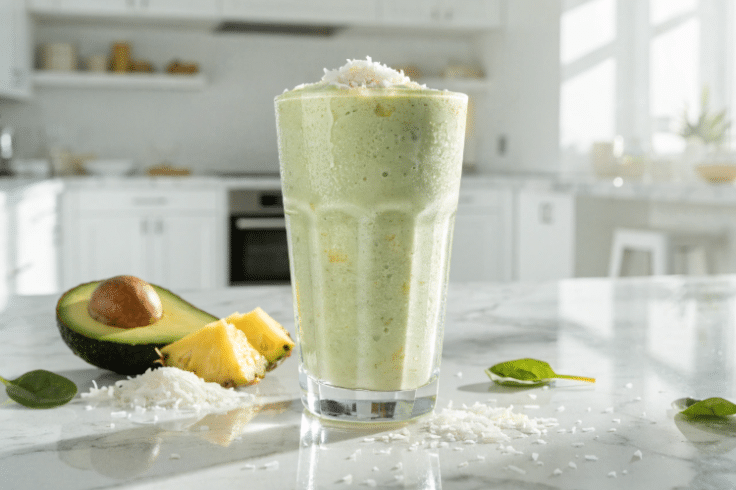
In terms of what to add to kombucha’s second ferment, we’ve had great fortune with chunks of ginger and apple. If you’re feeling adventurous, add chili peppers, lavender, or other herbs. Cayenne is great for tummy problems, but we recommend adding spicy peppers or powders in moderation. Any flavor combination typically works, even pineapple. Just remember to burp the bottles more frequently if you are using a high enzymatic fruit like papaya or pineapple. Enjoy your new home brewed ‘booch!
Let us know if you have any questions or comments!
Home Brewed Kombucha

Ingredients
- 16 cups water
- 4 green tea bags
- 4 black tea bags
- 1 cup sugar
- 2 cups kombucha store bought
- 1 scoby
Instructions
- Bring water to a boil, add tea bags, turn off heat, and steep for 15 minutes. Add a cup of sugar.
- Wait a few hours for the tea to come to room temperature. Heat can damage the scoby, so this is an important step.
- Pour sweet tea into your gallon jar, add the store bought kombucha, and slip in the scoby. Cover the mouth of the jar with a clean towel and tighten with a rubber band. Store on your counter-top in the kitchen.
- After seven days have passed, take a sip through a straw to see if it’s to your liking. If it’s too sweet, try again tomorrow. This can take up to 21 days depending on the temperature of your home.
- Once it’s ready, remove the scoby and a cup of your new brew and store it in a sealed container. You can now drink out of this jar or split the tea up in individual bottles (4-6) for a second ferment. See notes
Notes
Nutrition Information
Have you made this recipe?
Tag @skinnyms on Instagram or hashtag it #skinnyms
What do you think? Are you going to try to brew your own kombucha at home? If so, be sure to share your thoughts with us along the way. And of course what you thought about the finished product! We love feedback!
If you love kombucha, you might also like to try any of our 55 Summer Fruit Infused Water Recipes!
Before you go, head on over to Facebook and Pinterest and give us a follow. You can also subscribe to our eNewsletter to get the latest recipes and more delivered straight to your inbox.